

PORTABLE AIR CONDITIONERS • INSTALLATION
Install your portable AC without losing the cooling benefit
A proper exhaust path matters as much as choosing the right capacity. Prepare the position, window and drainage before the first start.
Updated:
The short answer
In cooling mode, warm exhaust air must leave the building through the supplied hose. Leaving the hose in the room, or opening a window without sealing around the outlet, allows heat to return indoors.
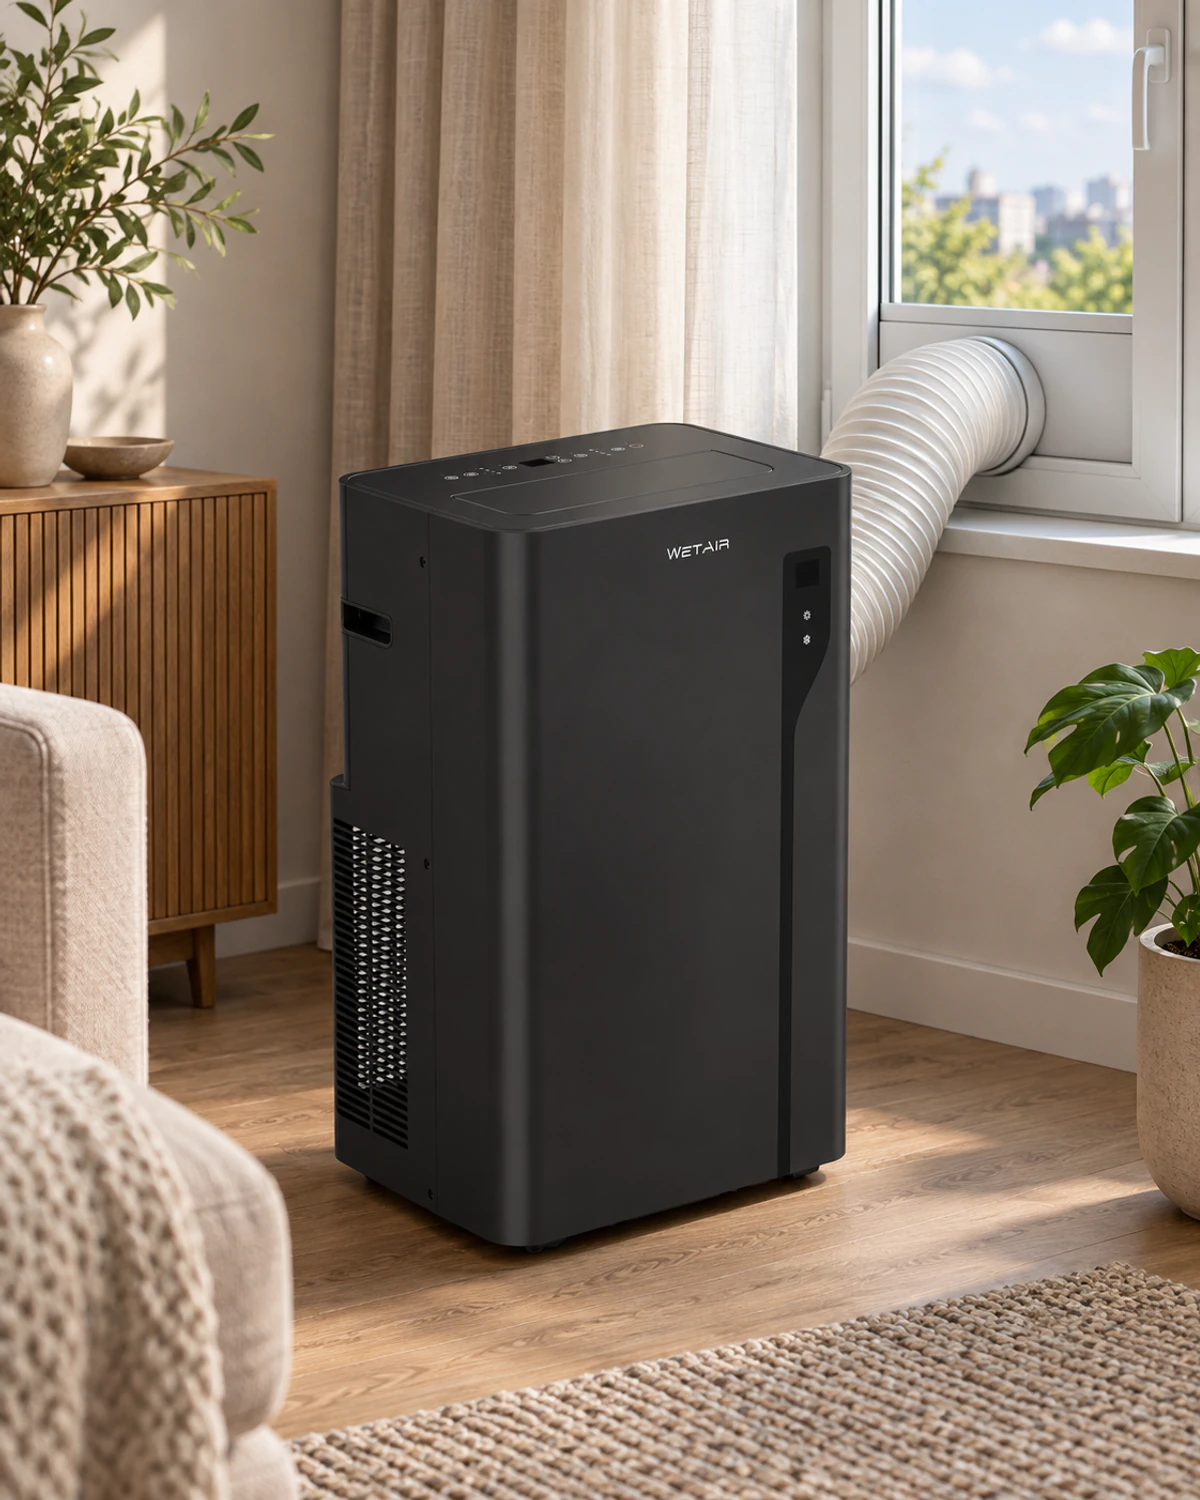
Where the heat goes
-
Air conditioner
Cools the room air and releases heat through the exhaust.
-
Supplied hose
Carries warm air to the window adapter.
-
Sealed window
The adapter is secured and surrounding gaps are sealed.
-
Outdoors
The outlet is clear and heat leaves the room.
This is an exhaust-air diagram, not a refrigeration circuit drawing. The hose must discharge outdoors, not into another room.
What to check before starting the air conditioner
Prepare the appliance location, the warm-air outlet through the window and water drainage. The requirements below come from the WPAC-E07K and WPAC-H12KB manuals.
- 50 cm all round
- A firm, level floor and at least 50 cm of clear space on every side; curtains must not cover the openings.
- Supplied hose
- The shortest route without sharp bends. Do not extend it or replace it with improvised parts.
- Window adapter
- Secured and sealed so hot air cannot come back in through the gaps.
- Water drainage
- Drain as the manual describes for your mode; the route to the drain has no kinks and the hose end is not under water.
- Room size
- The R290 safety minimum: over 7 m² for WPAC-E07K, over 10 m² for WPAC-H12KB. This is not the cooling area.
If the unit was tilted more than 45° in transport, it must stand upright for at least 24 hours before starting.
1. Check its position after transport
The WPAC-E07K and WPAC-H12KB manuals require at least 24 hours standing upright before use if the unit has been tilted more than 45°. Position it level and inspect the casing, power cable and supplied parts. Do not start a damaged appliance.
2. Choose a suitable position
Use a firm, level floor near a suitable socket and window. For these two models, leave at least 50 cm of free space around the unit and keep curtains away from openings. The minimum room area is more than 7 m² for WPAC-E07K and more than 10 m² for WPAC-H12KB. These are safety requirements, not the recommended cooling coverage.
3. Assemble the warm-air exhaust
Connect the supplied adapters and hose, secure the window kit and seal the gaps. Avoid sharp bends; do not replace or extend the hose with improvised parts. If your window differs from the manual’s illustration, arrange compatible sealing without obstructing the outlet.
4. Check where water will drain
Drainage depends on the operating mode and model. Switch off before connecting a hose. Gravity drainage needs a clear route to a drain below the outlet, without kinks or a hose end submerged in water. Place a suitable container before removing a drain cap; check connections for leaks.
5. Run a first-use check
Select cooling, set the temperature and check that warm air is exhausting outdoors. Close other windows and doors as appropriate while maintaining the room’s required ventilation. Inspect adapter joints, window sealing and drainage. FAN is a fan-only mode, not active cooling.
6. Keep the filter and controls ready
Switch off and unplug before cleaning. Maintain the filter as directed and never run the unit without it. Use the separate Tuya guide for supported Wi-Fi versions: app pairing does not replace correct hose and drainage installation.
Before switching on
- The required upright waiting period after tilting is complete.
- Room area and clearances meet the model’s instructions.
- The hose and adapters are secure, with a clear outlet outdoors.
- Window gaps are sealed and drainage has been checked.
Three installation mistakes
- Leaving the exhaust hose in the room instead of removing heat outdoors.
- Using an excessively long or kinked hose that obstructs exhaust air.
- Confusing minimum safe room area with maximum cooling coverage.
Models to compare
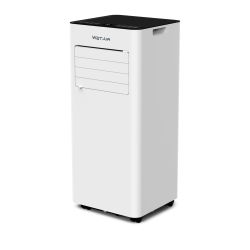
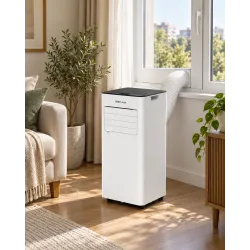
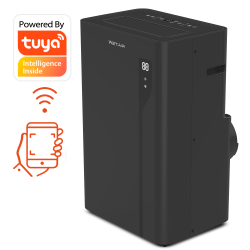
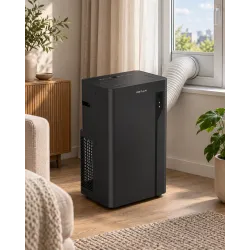
WetAir manuals and support
Check the exact model requirements
Need help choosing, installing or maintaining a model? Tell WetAir support the model, conditions of use and your question.
Sources and manuals
Model specifications and care instructions were checked against the manuals below. Check the label on your appliance for the exact version.
Frequently asked questions
Can it cool without an exhaust hose outdoors?
No. In cooling mode, the removed heat must be discharged outdoors.
Is an open window enough?
Use a secured adapter and sealing around it to avoid large gaps that let hot outside air enter.
Is drainage the same in every mode?
No. Check the mode, required outlet and connection procedure in your model’s manual.